Windows Night Light is Not Working ? Here Are Some Easy Fixes
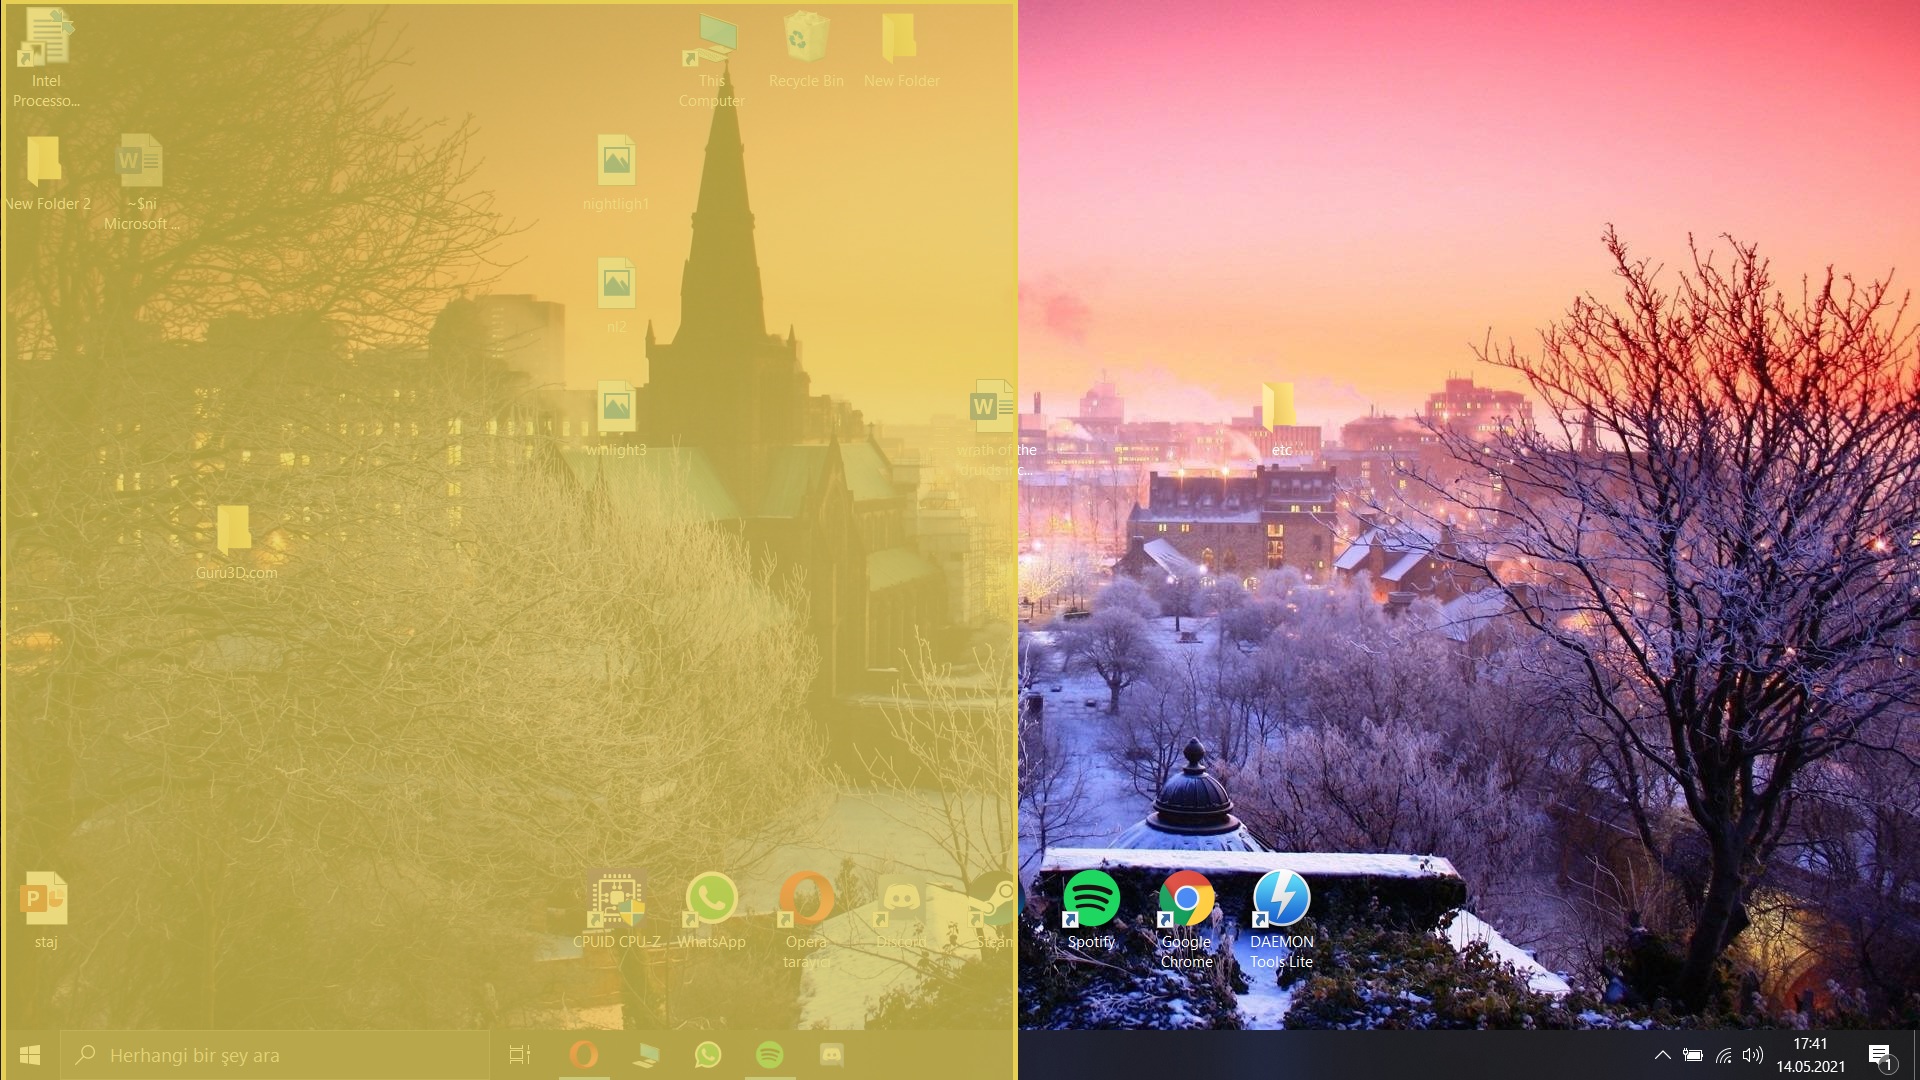
The Night Light feature is a feature of Windows 10 which reduces blue light. Here are some fixes if your Windows Night Light is not working.
What is Windows Night Light?
Windows Night Light is a feature that reduces the blue light on the screen. It is pretty useful if you are working with your computer in the dark. Because it helps to reduce eye strain. It also helps you fall asleep after you are done working on your computer. Mobile phones already had this feature a long time ago. And with Windows 10, it is also possible to enable this feature on your computer. But what to do if your Windows Night Light is not working? Here we covered up some fixes for you in order to fix it.
Method 1: Deleting Registry Keys
If your Wİndows Night Light is not working, you can try deleting the registry keys of the feature. This is due to a bug that’s happening when your registry is badly edited. The process is eventually simple. Here is what you need to do:
- Open the Registry Editor app by searching ‘Regedit on your search bar.
- Go to the following Registry key.
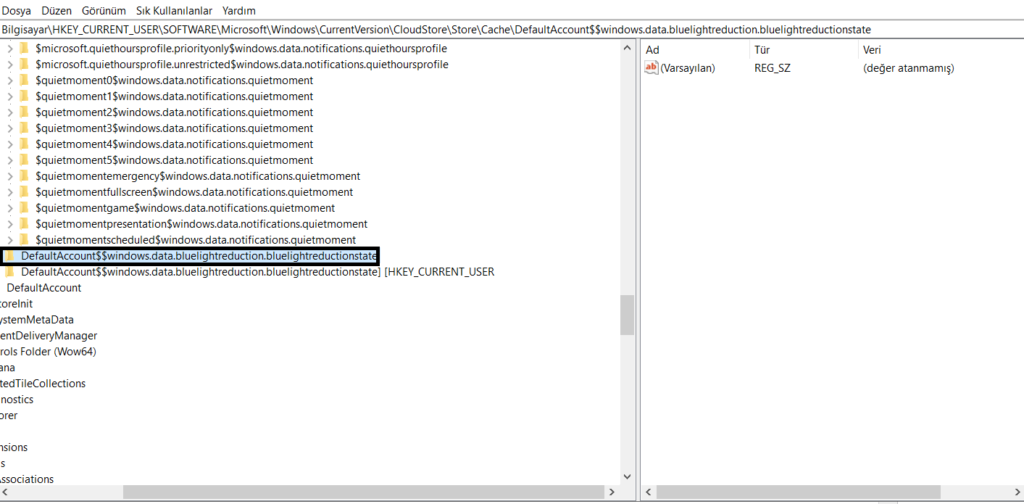
HKEY_CURRENT_USER\Software\Microsoft\Windows\CurrentVersion\CloudStore\Store\Cache\DefaultAccount
- Here, delete the following subkeys
-
$$windows.data.bluelightreduction.bluelightreductionstate
$$windows.data.bluelightreduction.settings
You can alternatively copy two of the registry keys above and press CTRL+F in your registry editor. Paste two of the subkey locations and you should be there. After doing that, delete those two subkeys and restart your computer. See if the night light feature works after this fix. If not, you can take a look at the second method below.
Method 2: Uninstalling and Reinstalling your Graphics Driver
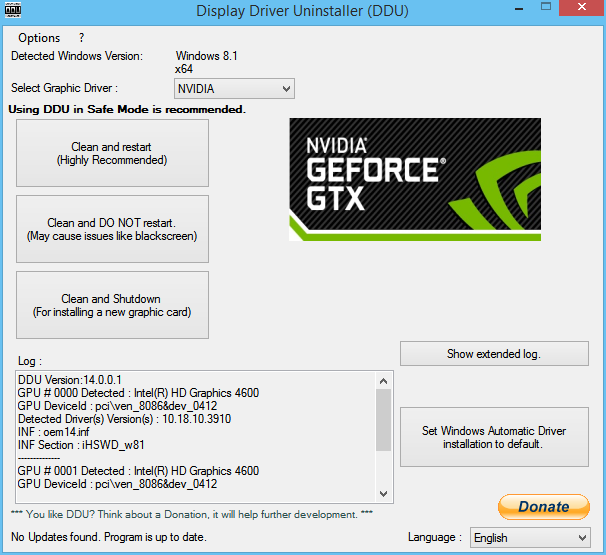
Some users around the web mention that their Windows Night Light is not working because of faulty or outdated drivers. Performing a clean install may help you fix this issue. But to completely uninstall a graphics driver, we need a well-known program called DDU, also known as Display Driver Uninstaller. You may follow the steps below to learn how to uninstall your graphics driver.
- Download Display Driver Uninstaller by clicking here.
- Boot Windows into Safe Mode. To do that, do the following:
-
On the Windows sign-in screen, press and hold the Shift key while you select the Power > Restart.
-
After your PC restarts to the Choose an option screen, select Troubleshoot > Advanced options > Startup Settings > Restart.
- After your PC restarts, you’ll see a list of options. Select 4 or F4 to start your PC in safe mode.
- After you are in Safe Mode, open Display Driver Uninstaller
- Uninstall your respective Graphics Driver
- The computer should reboot afterwards. Either let Windows install new drivers for you or install them manually. AMD Users can download their drivers here. NVIDIA users can click here to download their latest drivers.
- After installing the new drivers, check out if your Windows 10 Night Light feature is working.
If your Windows Night Light is not working after this method, you can try out our last method just below.
Method 3: Edit Your Registry if your Windows Night Light is not working
If your Windows Night Light is not working after the two steps above, you can give this method also a shot. This method will try to add the feature to your registry again. This method has not been tested out by us. So use it at your own risk. And backup your Registry before making changes. Here is what you need to do to edit your registry:
- Search ‘Note Pad’ on your Windows Search Bar. And open it.
- Copy the following text and paste it to your notepad:
-
Windows Registry Editor Version 5.00 [HKEY_CURRENT_USER\Software\Microsoft\Windows\CurrentVersion\CloudStore\Store\Cache\DefaultAccount$$windows.data.bluelightreduction.bluelightreductionstate] [HKEY_CURRENT_USER\Software\Microsoft\Windows\CurrentVersion\CloudStore\Store\Cache\DefaultAccount$$windows.data.bluelightreduction.bluelightreductionstate\Current] “Data”=hex:02,00,00,00,54,83,08,4a,03,ba,d2,01,00,00,00,00,43,42,01,00,10,00,
d0,0a,02,c6,14,b8,8e,9d,d0,b4,c0,ae,e9,01,00 - Press CTRL+S. A new window should open to rename your text file. Rename it anything you like but don’t save it as .txt, instead save it as .reg. Save the file you have created on your desktop to access it.
- Click the file you created and say ‘yes’ on the notification window.
- Restart your computer to see if it works.
If none of the steps above worked for you, then you can try out alternative methods. You may consider installing F.lux. It does the same thing as the Windows Night Light feature. You can download F.lux by clicking here. If you do not feel well with any third-party software and want to get back your Windows Night Light feature working again, consider a fresh install on your computer. Many people around the web don’t know why their Windows Night Light is not working. The methods above are all the ones that most people tried. If any of these methods work for you, feel free to comment down below!
